Ceiling Trap Doors a universal necessity
How to fix a Ceiling trap door? is an often asked question with few answers and guidelines. This resource has been created to help people do just that.
Ceiling trap doors are indispensable access hatch doors for accessing services like HVAC, Plumbing, Electrical and fire equipment and valves etc above the false ceiling plenum.
Requirement of a good Ceiling Trap Door Design
As such, the ceiling trap door needs to be unobtrusive and blend seamlessly, as far as possible, with the false ceiling finish.
Besides, an access hatch ceiling trap door should be easy to operate and sturdy, so that the finish doesn’t get spoiled during operation. It should be easy to open and lock without much effort.
Generally, ceiling trap doors are installed as an afterthought, or many a time replacing an unsightly ugly looking existing ceiling trap door. This leaves most wondering how to fix a ceiling trap door effectively.
IQUBX Modular Green Building Furniture & Interior System Solutions, has designed a much optimized solution – CTD024 model, which can be fixed very easily in an existing gypsum board false ceiling.
Key features of IQUBX CTD024 ceiling trap door design
- They can be made to big sizes too – up to 8′ long
- They can be made to order as per exact dimensions required
- They are certified Greenpro by IGBC, CII. The only green certified ceiling trap doors in the country
- CTD024 has just a uniform 2.5mm groove visible all around, making it unobtrusive and blend seamlessly with the ceiling
- It has safety features of shutter being secured with chain/steel wire and lockable with Allen key lock
- Unique design keeps the ceiling trap door price optimized
- Fixing a ceiling trap door CTD024 is very easy
How to fix a ceiling trap door in a gypsum board false ceiling?
STEP 1
Mark the location of the ceiling trap door on the gypsum ceiling (If it is already finished). Ideally, we recommend fixing the CTD24 while ceiling framing is happening.
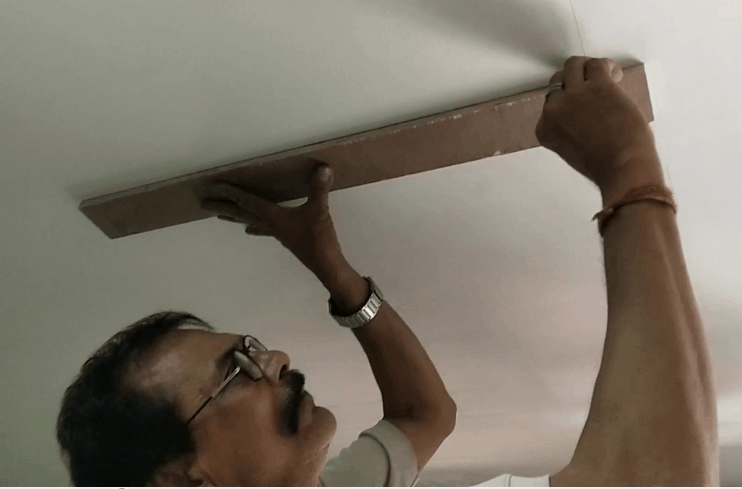
marking location of the ceiling trap door in the gypsum ceiling
STEP 2
Check the right angles & diagonals so that it matches the size of trap door perfectly.
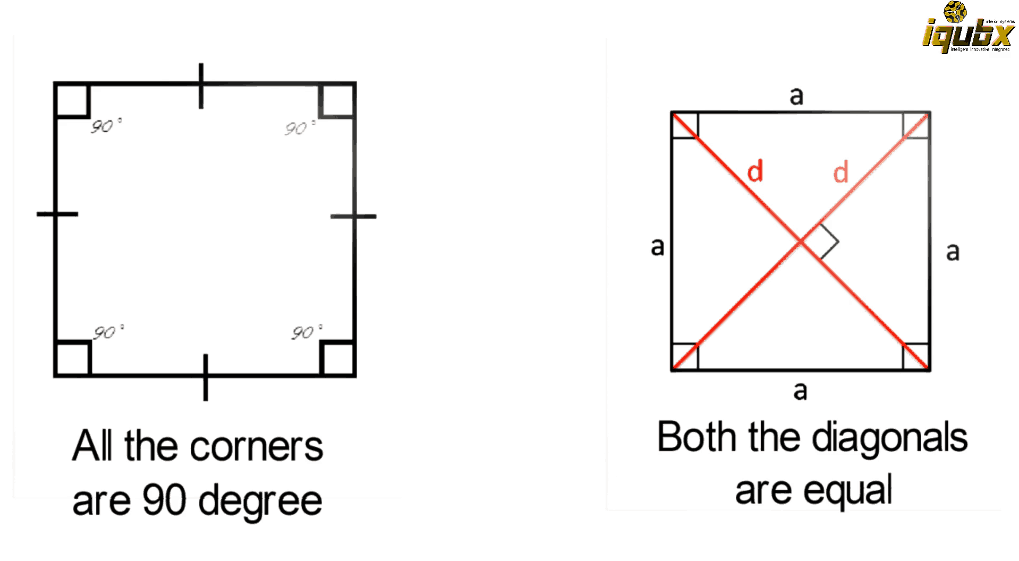
both the diagonals are equal
STEP 3
Carefully cut off the gypsum board with a hand saw tool on the mark to remove the gypsum board cutting.
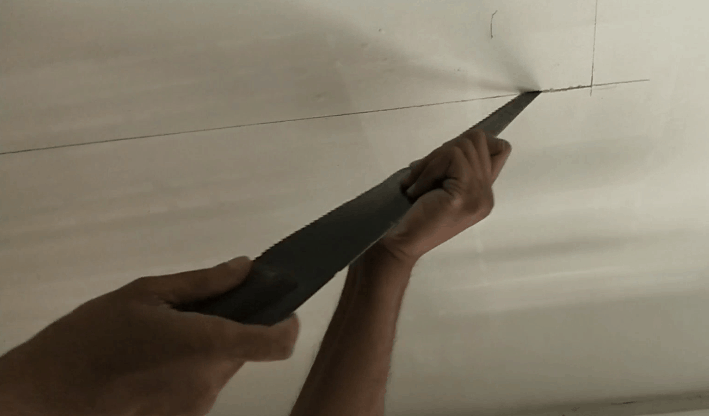
gypsum board cutting with hand saw tool
STEP 4
Remove the cut out from gypsum board carefully, so that it can be used as infill for CTD if required.
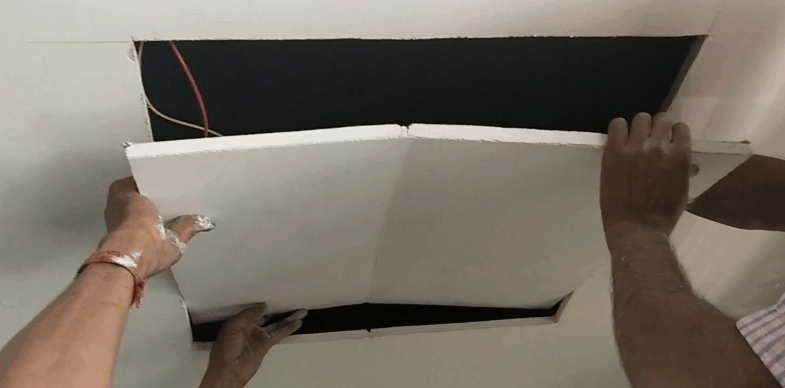
removing the cut out from the gypsum board
STEP 5
In case of installation in an existing or finished false ceiling one may get a main or cross of the ceiling frame in the way. Carefully cut the frame section of the ceiling or remove it if possible & strengthen the ceiling by installing it in alternate position.
cutting the frame section of the ceiling
Ideally and especially for bigger ceiling trap doors main ceiling frame section should run all around the perimeter of the trap door for proper strength and to avoid cracks in future. For smaller ceiling trap doors no extra support from roof slab is required, in fact, no extra main section of the ceiling frame need be installed.
STEP 6
Carefully position the outer frame in the ceiling cut out. The CTD024 outer frame may be fixed to the gypsum board with gypsum screws which can then be finished off with gypsum compound as the rest of the ceiling.
positioning the outer frame in the ceiling cutout
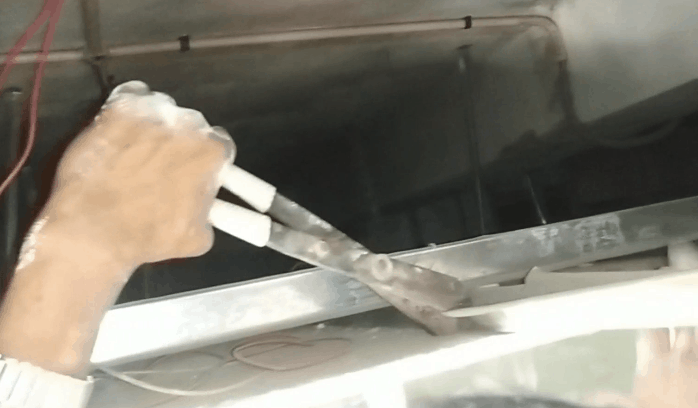
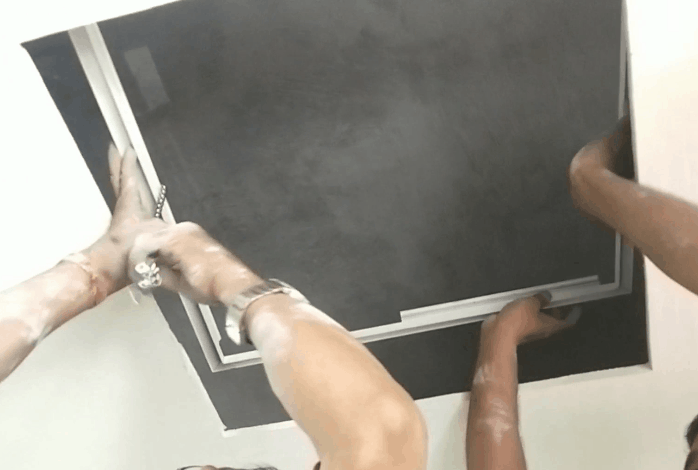
STEP 7
Once the outer frame is properly secured, the inner frame is positioned by sliding the protruding bolts in the stiffener section of the outer frame to act as hinge.
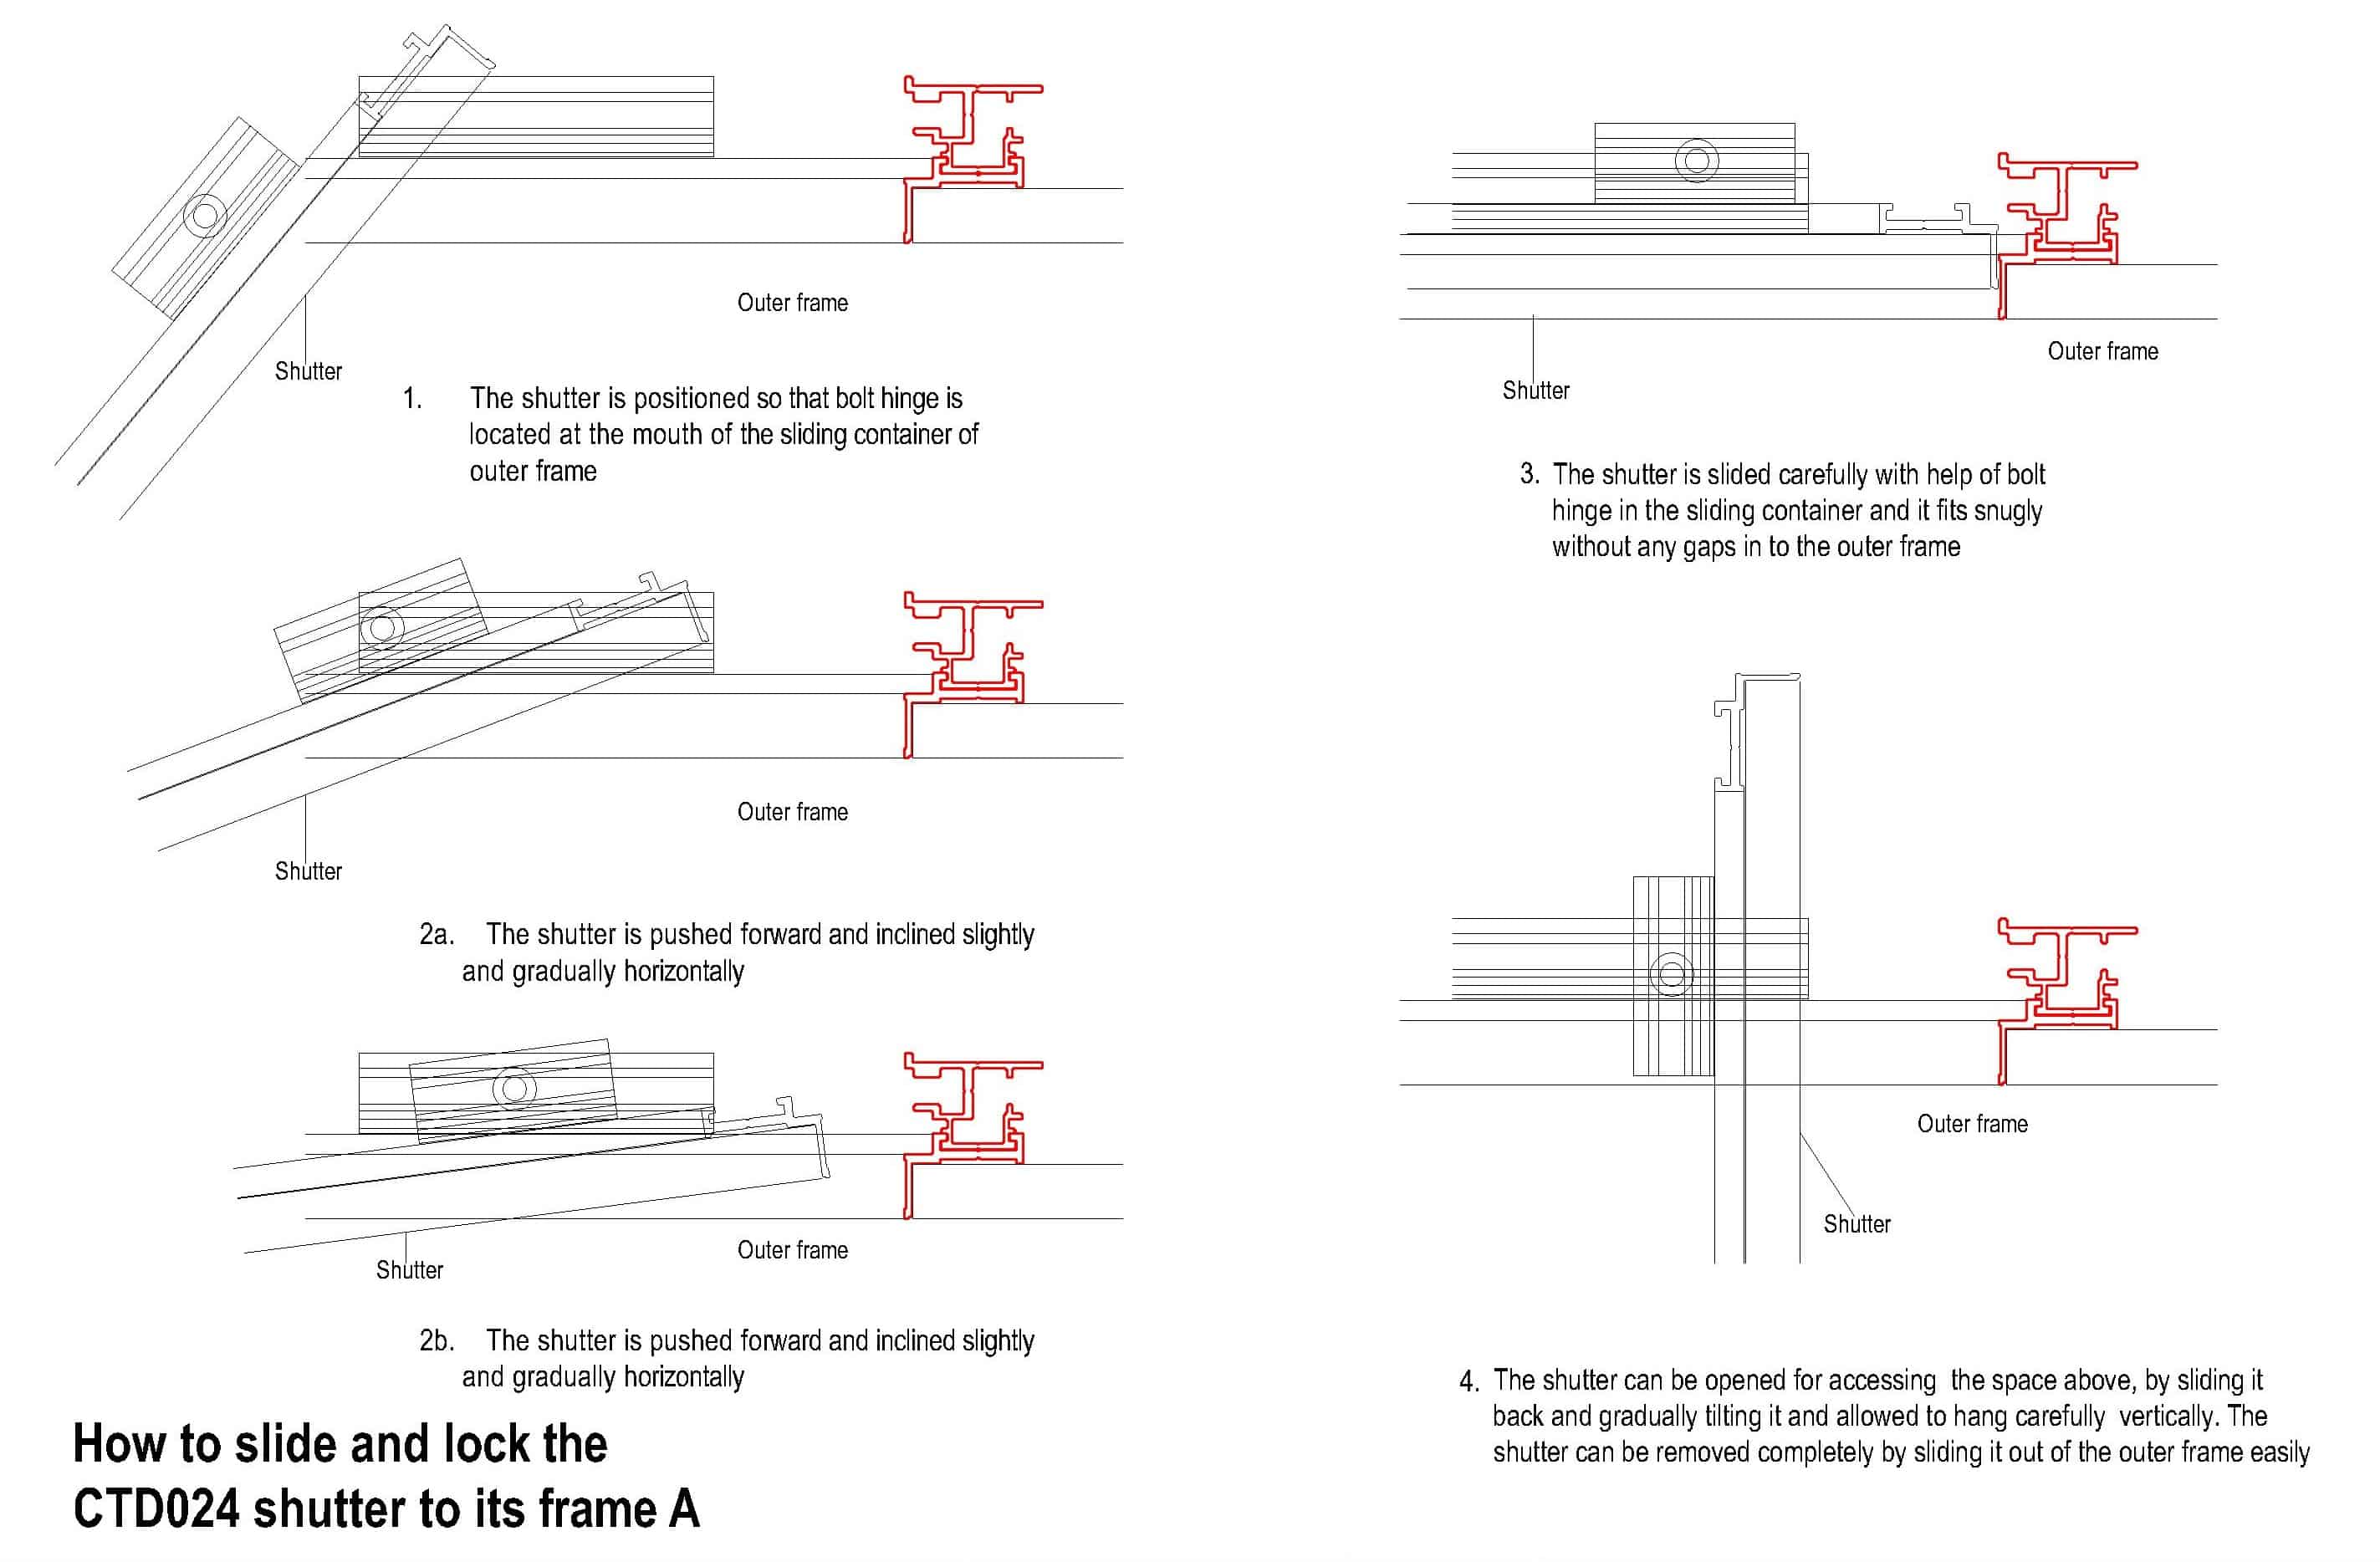
how to slide and lock CTD024 shutter to its frame
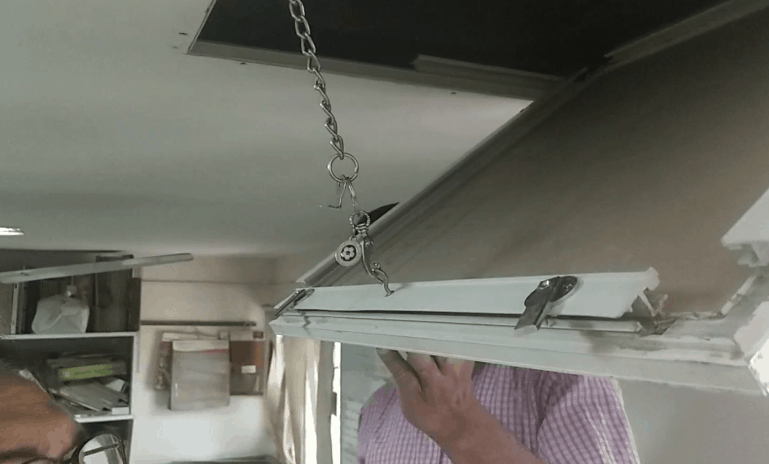
STEP 8
The shutter is secured with key chain with outer frame to avoid accidents. The Allen key is locked to finish the installation. The ceiling as well as the shutter may now be finished off with putty or gypsum compound & painted over.
locking Allen key
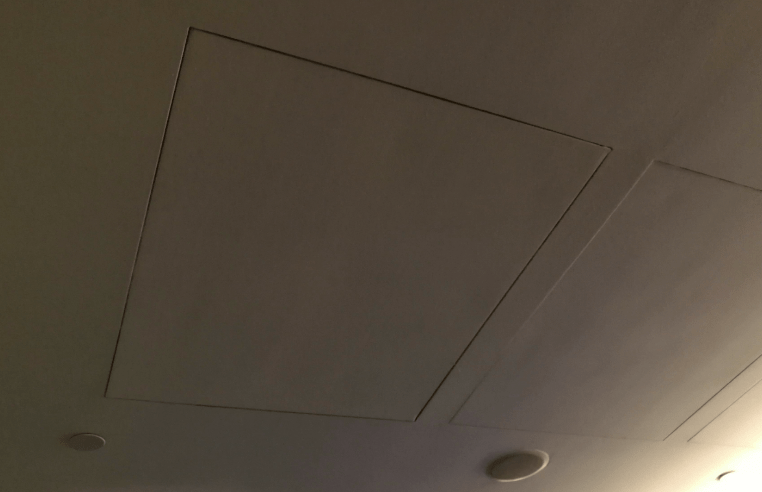
Ceiling and shutter finished off with gypsum compound and painted over
About The Author
Amit Garg
CEO, IQUBX - Amit is an architect, Product Designer, Entrepreneur, ino-ventor, based in New Delhi, capital of India. Having an experience of more than 20 years in field of architecture. Subscribe to regular updates by IQUBX